

In my last TestProject blog post, I wrote about the integration of Sauce Labs cloud into the TestProject. Next to Sauce Labs, TestProject offers since release v0.60 also an integration to BrowserStack.
In this rather short article, I will explain what to do in order to connect your existing TestProject tests to BrowserStack.
Getting Started
In order to connect TestProject with BrowserStack, you need to have a BrowserStack account. This is a mandatory requirement before you continue reading with this article.
If you already have a BrowserStack account login to it and go to User Settings (1-2). On the Account page copy the user name (3) and the Access Key (4). You will need both to establish the connection.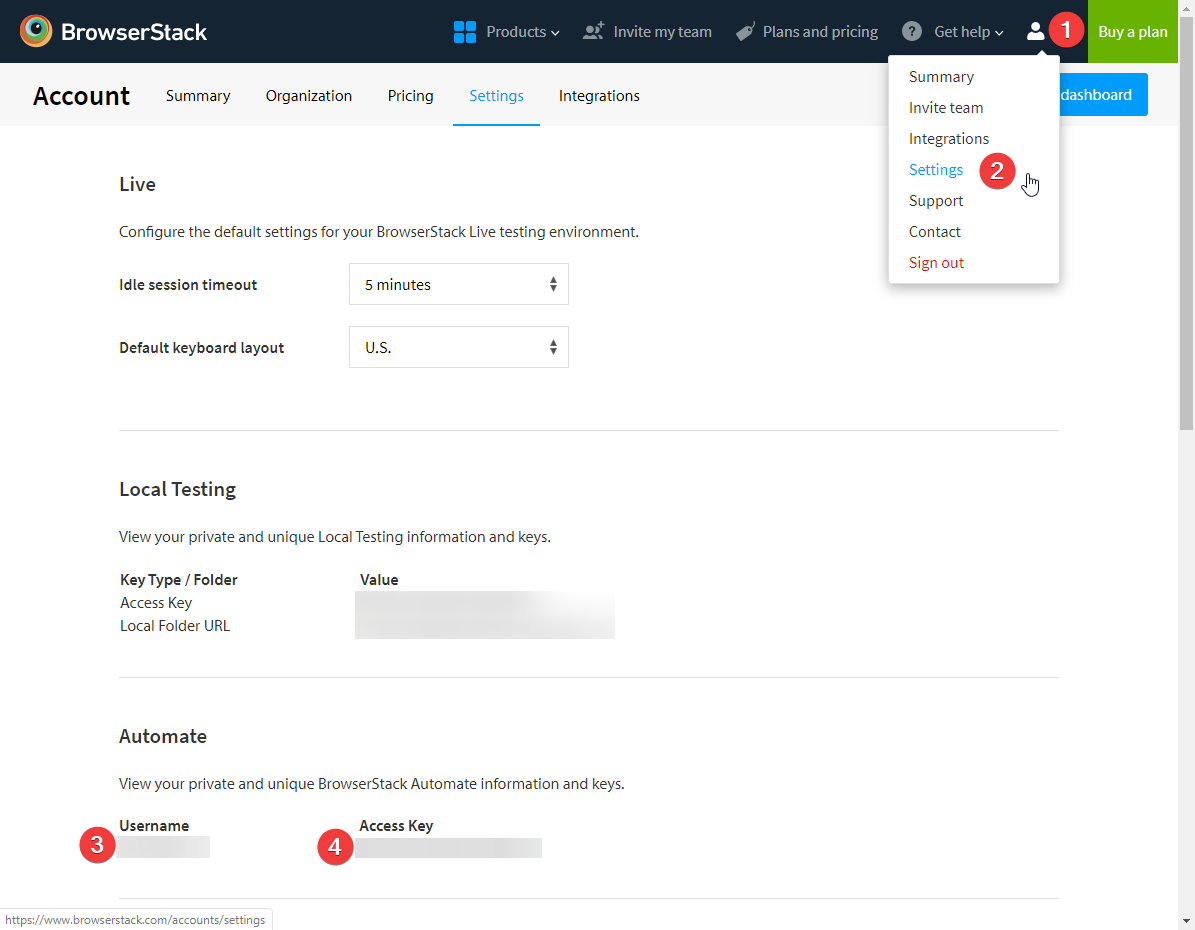
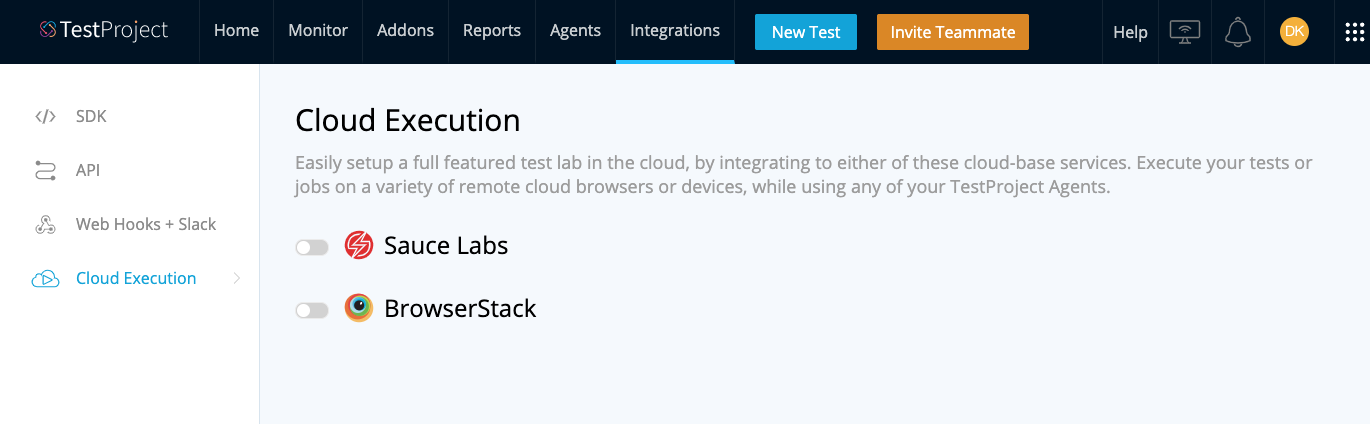
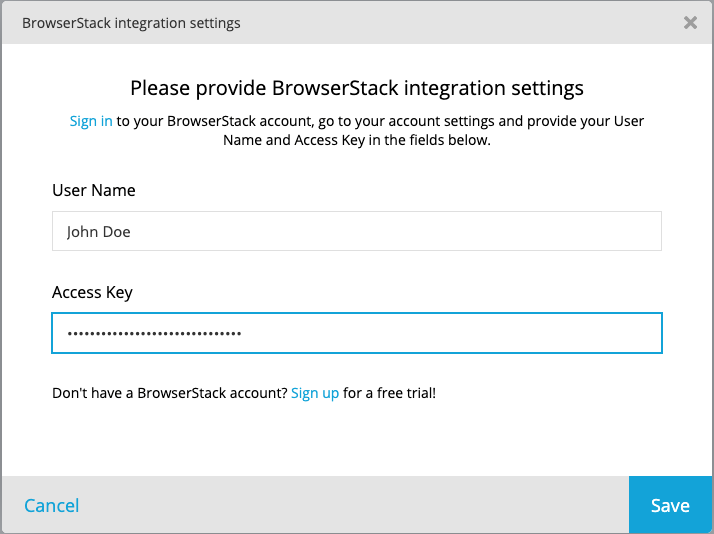
Now it’s time to log in to TestProject to start the integration with BrowserStack. After the login navigate to Integrations section and click on Cloud Execution inside the left navigation. Enable the toggle next to BrowserStack and enter the previous copied user name and access key to the respective input fields. Afterwards hit the save button.
Now TestProject will validate the credentials if they are valid or not and will close the dialog window.
Once the dialog has been closed, you will see a green indicator for the established integration. If you want to disconnect from BrowserStack, just toggle again and the connection will be revoked.
Several Ways to Execute Your Tests
Now that your integration has been made, it’s time to execute your tests on the BrowserStack cloud. However, if you have read my last article about the integration of TestProject and Sauce Labs, you can follow up the steps over there again since they are the same no matter if you have selected Sauce Labs or BrowerStack.
#HappyTesting
Official documentation: https://docs.testproject.io/testproject-integrations/browserstack-integration