
This is the 4th and last post of my smartwatch app testing series. However, there will be one more post with lots of testing ideas coming next week, so stay tuned for that. In this post I will write about Android Wear and the important features to know about this platform. Android Wear, as the name already suggest is based on Android and is developed by Google. The platform was launched at the Google I/O 2014.
Android Wear is written in C, C++ and Java and is open source like Android. The latest version based on Android 5.1.1 aka Lollipop (Version 6.0.1 aka Marshmallow is currently in roll-out stage). Since Android Wear is open source many manufacturers already produced their own Wear based watches. Some of you might think, yet another fragmentation challenge is coming up, but this is not the case for Android Wear. Google build this platform in a way that the UI is not customizable like Android for smartphones. The main goal is to get a common look and feel as well as features on different watches, produced by various manufacturers. This is a great step for all people working with wearable apps based on Android Wear, because it downsizes the amount of work.
Smartwatch App Testing – Android Wear
If you have read my previous posts about Tizen OS, watchOS and Pebble OS you know the structure of my testing series and you probably know what is coming now. Lets start with the design guidelines of Android Wear. As for every platform, developers, tester and especially designers must be familiar with the provided styleguides and rules. On the Android Wear page, you get plenty of useful information about how to use the common designs, how to use cards and what which information to display on the small screen. The following links are the starting point for you, when you are new to Android Wear:
- The general Android design page
- Android Wear design page
- Several Android Wear design guides as PDF
- Android Wear design principles
If you want to develop and test for Android Wear and you don’t have a Android based smartwatch yet, you can start with an Emulator. To get the watch Emulator up and running you need to install the latest Android SDK. With the help of the AVD (Android Virtual Device) manager you can configure and start a watch emulator. When the emulator is up and running you can take a look at the wearable examples, download and install the sample apps on the watch to get familiar with the new environment. Another good starting point are the trainings provided by Google on how to build wearable apps.
At the time of writing this post (Feb. 2016) more than 10 Android Wear watch manufacturer are on the market. The manufacturers have the freedom to decide if they want to produce the watch in a round or square version of the watch body. This two form factors (round, square) are officially supported by Google.
Since there are so many Android watches available, I will write the following sections about the input methods, the connectivity as well as the hardware and software features in a generic way to meet most of the watches.
Let’s start with the input and interaction methods most of the watches are offering. Basically there are 4 main input methods on all Android Wear watches.
- The touch screen
- The button
- The sensors
- The microphone
In the following picture you can see the LG G Watch R as an example.

All Android Wear watches are offering a capacitive touch screen, either round or in a square body. The touch screen offers different types of gestures as well as navigation options. If you are on the home screen of the watch and you perform a swipe down from the top of the screen you will get access to settings option and information like sound and the battery level. If you swipe to the left you will get more options depending on the running app.
When you are on the watch face of the device and you perform a swipe to the left you will open the app launcher of Android Wear. If the watch is connected with your device, all Wear compatible apps will be listed in the launcher to start them directly from your wrist. Another swipe to the left will show your contacts and some quick actions.
Again, when you are on the watch face of the device and you perform a swipe up from the bottom of the screen you will see all the notifications. Further scrolling to the top will show the next notifications and scrolling back will show the previous notifications back on screen. If you want to get more details about the notification e.g. a message you can tap on the card and see the full message. With a swipe to the left you will get more actions on that card like reply or open on the phone. If you swipe a card to the right you will dismiss the notification. A long press on the home screen of the watch will provide a feature to change the watch faces of the smartwatch. Watch faces can be installed via the Android Wear app from the smartphone.
The following video will show the basic navigation flow in Android Wear.
The next input method most of the Android watches offer is a button. The button can be used to start the watch. If you press the power button for 25 seconds you will force the watch to shut down. When pressing the button once the watch is going into standby mode or you can activate the screen again. Pressing the power button twice quickly will activate the theater mode, which will turn off all notifications on the watch.
The next input method Android Wear watches offer are sensors. Like the other watch platforms, the Android watches offer nearly the same type of sensors. However, not all of the sensors are build into every smartwatch, it depends on the manufacturer. The following list is an overview of possible sensors:
- Gyroscope
- Accelerometer
- Heart Rate Sensor (PPG – Photoplethysmogram)
- Ambient light
- Barometer
- Pedometer
In the previous posts I already explained the different sensors like Gyroscope, Accelerometer, Heart Rate Sensor, Ambient Light and all of them are used for the same purpose. Therefore, I will not write about them in this post. However, there are two sensors that were not mentioned before, the Barometer and the Pedometer. The Barometer sensor is used to measure atmospheric pressure. The sensor is mainly used by the watch and apps to calculate the current altitude. The pedometer is used to count each step a person takes while walking around. This sensor measures the steps a person has walked. However, this sensor is in most cases build into the accelerometer but still some watches offer a separate version of it.
Like other smartwatches, Android Wear watches are offering either one or two microphones to answer phone calls, send/ reply to messages or to activate the voice control. One of the main use cases of the microphone is voice command. By saying “OK Google” the microphone is getting activated and is capturing the voice and forwards it to the corresponding app. Depending on the installed apps and the use case of these apps, the microphone can be used for different scenarios.
In order to connect the watch with an Android device it requires the installation of the Android Wear companion app. With this app customers are able to configure the watches, install new watch faces and send data to the devices. Most of the current Android smartwatches offer different connection types like Bluetooth LE, Wi-Fi or NFC. As for the other platforms, Bluetooth is the main connection mode to transfer the notifications to the watch or send data from the watch to the phone. Some watches offer also Wi-Fi and with this, the watches can be used without a paired smartphone. NFC, if available on the watch, is used for Android Pay.
To connect a watch to an Android device, the Android device must run at least on Android 4.3. There are also good news for iOS users out there. Since August 2015, Android watches can be connected with iOS devices running at least iOS version 8.2 or newer. However, the support for iOS is still very limited, it is mainly focused on sending the phone notifications to the watch.
As I mentioned earlier I will not focus on a specific Android watch in this post. Therefore, I will not write about any specific hardware feature of a watch. However, most of the current smartwatches offer at least 4GB of memory, 512MB of RAM and a CPU with more or less 1GHz CPU power. Depending on the hardware manufacturer the hardware specifications will be different. The following list will give you an overview of current Android Wear watch manufacturer:
- Samsung
- LG
- Motorola
- Huawei
- Asus
- Fossil
- Sony
- TAG Heuer
- HTC
- Intel
- MediaTek
- Qualcomm
As you can see, the list is long and may increases in the upcoming months. For software testers and developers it is good to know that the UI is the same on every watch. The “only” difference is the form factor as well as the hardware specification.
Android Wear is offering plenty of software features that may have an impact to your app. The following list shows an excerpt of the features that you should know and use during your test sessions:
- Flick notifications: Turning your wrist in order to flick through the notifications.
- Wrist movement: Move frist up and down to navigate through the menu of the watches and to open detailed options of the current screen (new with Marshmallow).
- Voice commands: Make use of them in order to start or stop on activity inside your app.
- Google Now: Integrate your app into Google Now and check the behavior inside the watch. Use the voice command “OK Google” during your testing activities. Cue Cards may also be of interest during the testing.
- Watch faces: Can be changed by the user. Some watch faces only show the date and an image, but there are many watch faces available who are doing much more than that. For example, they can show the current weather, step count and many more. All this kind of information might have an impact to the battery life of the watch and when you are testing an own watch face, keep an eye on the battery level.
- Always-On mode: This mode is also called ambient mode and keep the screen alive with a low powered black and white display to save battery. But keep in mind the ambient mode is consuming battery and must be checked during testing.
- Do not disturb: This and the priority mode are important to know to either switch off all notifications or to define priority ones that will always be shown.
- Battery save mode: This feature will be activated when the watch reaches a battery level of 15%. However, this save mode will not turn of the connection between the phone and the watch it will only switch off the always-on mode and will reduce the brightness of the screen. This is different compared to watchOS and TizenOS.
- Remote Control: The watch can be used as a remote control for the device. For example, it can be used to take a photo or to change the volume of a bluetooth speaker.
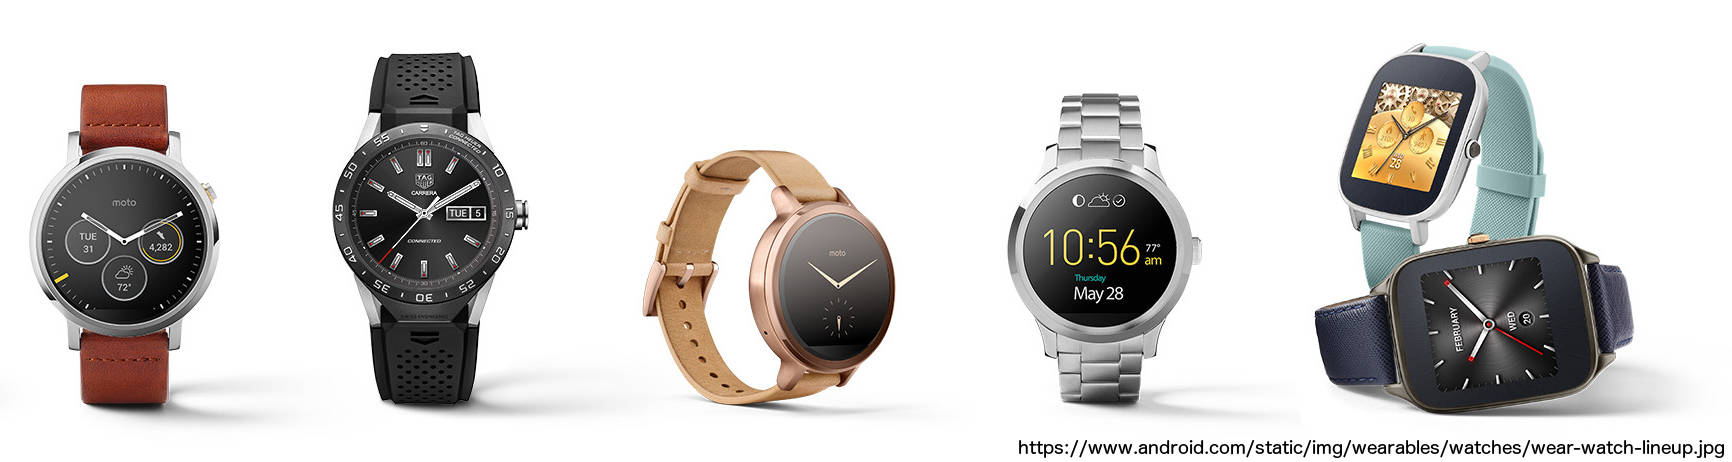
The gallery show some of the current Android Wear watches from different manufacturers.
As you have seen, Android Wear offers a variety of devices as well as features. The good thing is that Android Wear devices can’t be customized by every manufacturer which leads to less complexity for software testers and developers. If you are not familiar with Android Wear you can get a first impression with the emulator provided within the Android SDK. Maybe you have the possibility to buy or to rent a watch to get a real hands-on experience.
This was the last post of the smartwatch app testing series which was dealing with a smartwatch platform. Next week, there will be a post about smartwatch testing ideas. I will provide you with more than 40 test scenarios/ ideas to test smartwatch apps.
#HappyTesting
Sources:
Title Image: https://www.android.com/static/img/wearables/watches/wear-watch-lineup.jpg
Asus ZenWatch:
http://press.asus.com/content/201409031835354383.jpg
LG G Watch:
http://www.lg.com/de/images/handy/g-watch/gallery/lg-gwatch-medium.jpg
LG G Watch R:
https://upload.wikimedia.org/wikipedia/commons/thumb/9/92/LG_G_Watch_R_%282%29.jpg/440px-LG_G_Watch_R_%282%29.jpg
LG Watch Urbane:
https://upload.wikimedia.org/wikipedia/commons/thumb/6/67/LG_Watch_Urbane.jpg/600px-LG_Watch_Urbane.jpg
Moto 360:
https://upload.wikimedia.org/wikipedia/commons/thumb/0/0d/Moto360Cropped.JPG/440px-Moto360Cropped.JPG