

In this post I will describe how to build your own Android device cloud in the office. You may think this is expensive and will take lots of time and work, but I promise it isn’t. After installing the device cloud you are able to control the real Android devices from your web browser no matter how far you are away from the real device. For all iOS testers and developers out there, I must say sorry, this post is only handling Android devices until know the tool I will use is not supporting iOS. Before I get started with the installation and setup I list shortly the hardware and software I used to setup the whole system.
Hardware and Software
Lets start with the software that is managing the Android devices. The software is called openstf, where STF stands for Smartphone Test Farm. The software is open source and is maintained by Simo Kinnunen and Günther Brunner. STF offers a plethora of really cool features like
- Keyboard & Mouse Input
- Copy & Paste to and from the device
- Take Screenshots
- Drag & Drop APK files
- Open URLs in any installed browser
- Display Logs
- Run Shell Commands
- Debug Remotely with Android Studio
- and many more
OpenSTF is the only software you need to install for the device management. However, you also need to install the Android SDK, Java SDK as well as XCode. The installation of the software will be explained a bit later in this post.
Lets get to the hardware. I used the following hardware to build the device cloud. To install the needed software a Mac mini is a good choice. It is slim, powerful and fits perfect into the server rack. In my case I used a mac mini with Intel Core i5@2.6GHz, 8GB RAM and 256GB SSD disk.
The next piece of hardware that you need is a server rack to lock the devices and the mac mini. The good thing about a real server rack over any other locker is the ventilation system that helps to cool down the mac mini as well as the devices. We bought the following 19 inch server rack with 15 height units from ebay for ~200€

To connect many devices to the openSTF system we used 2 USB hubs with an additional power support to charge the devices and to be able to send commands to them (60€ each). One power cord extension and some velcro fastener to stick the USB hubs under the shelfs inside the server rack. The guys from openSTF listed some more recommended hardware to setup the device cloud. The complete list can be found here.
Another piece of hardware we added to our device cloud are device holders. With the help of the holder we are able to add even more devices next to each other on a single shelf. Since we have a 3D printer in the office we printed the device holders for our self :). We used the following 3D model to print them.
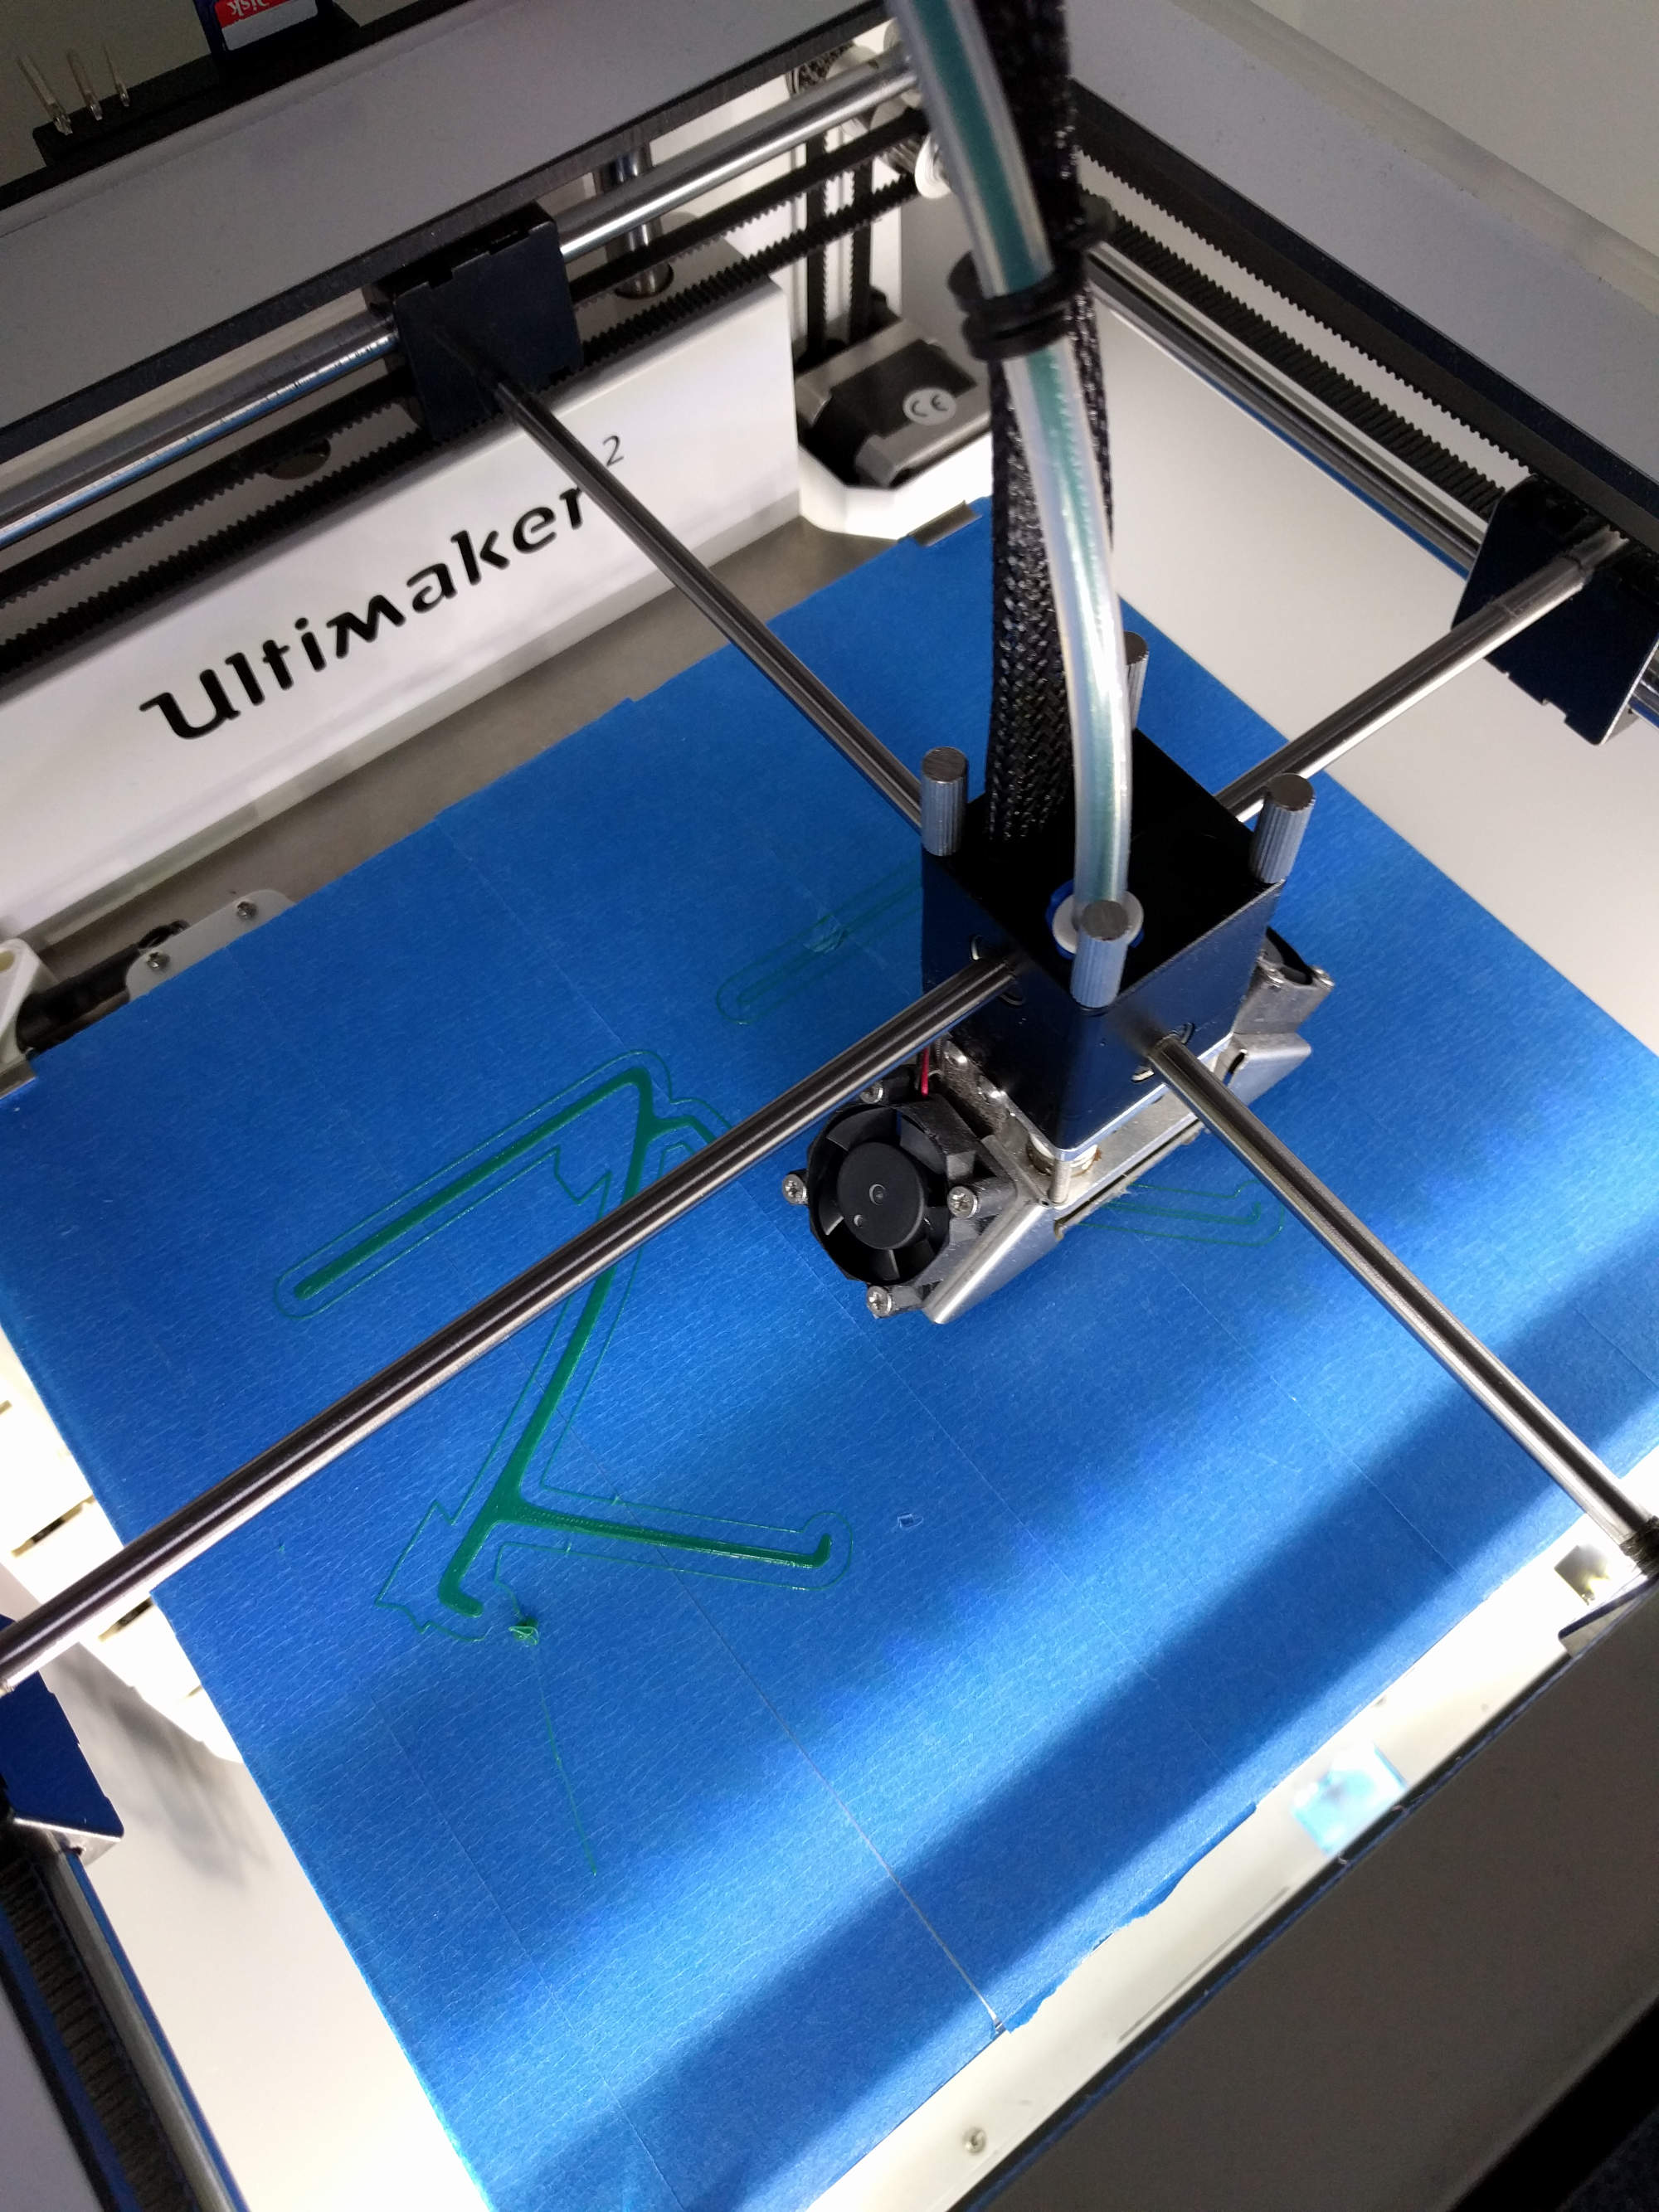
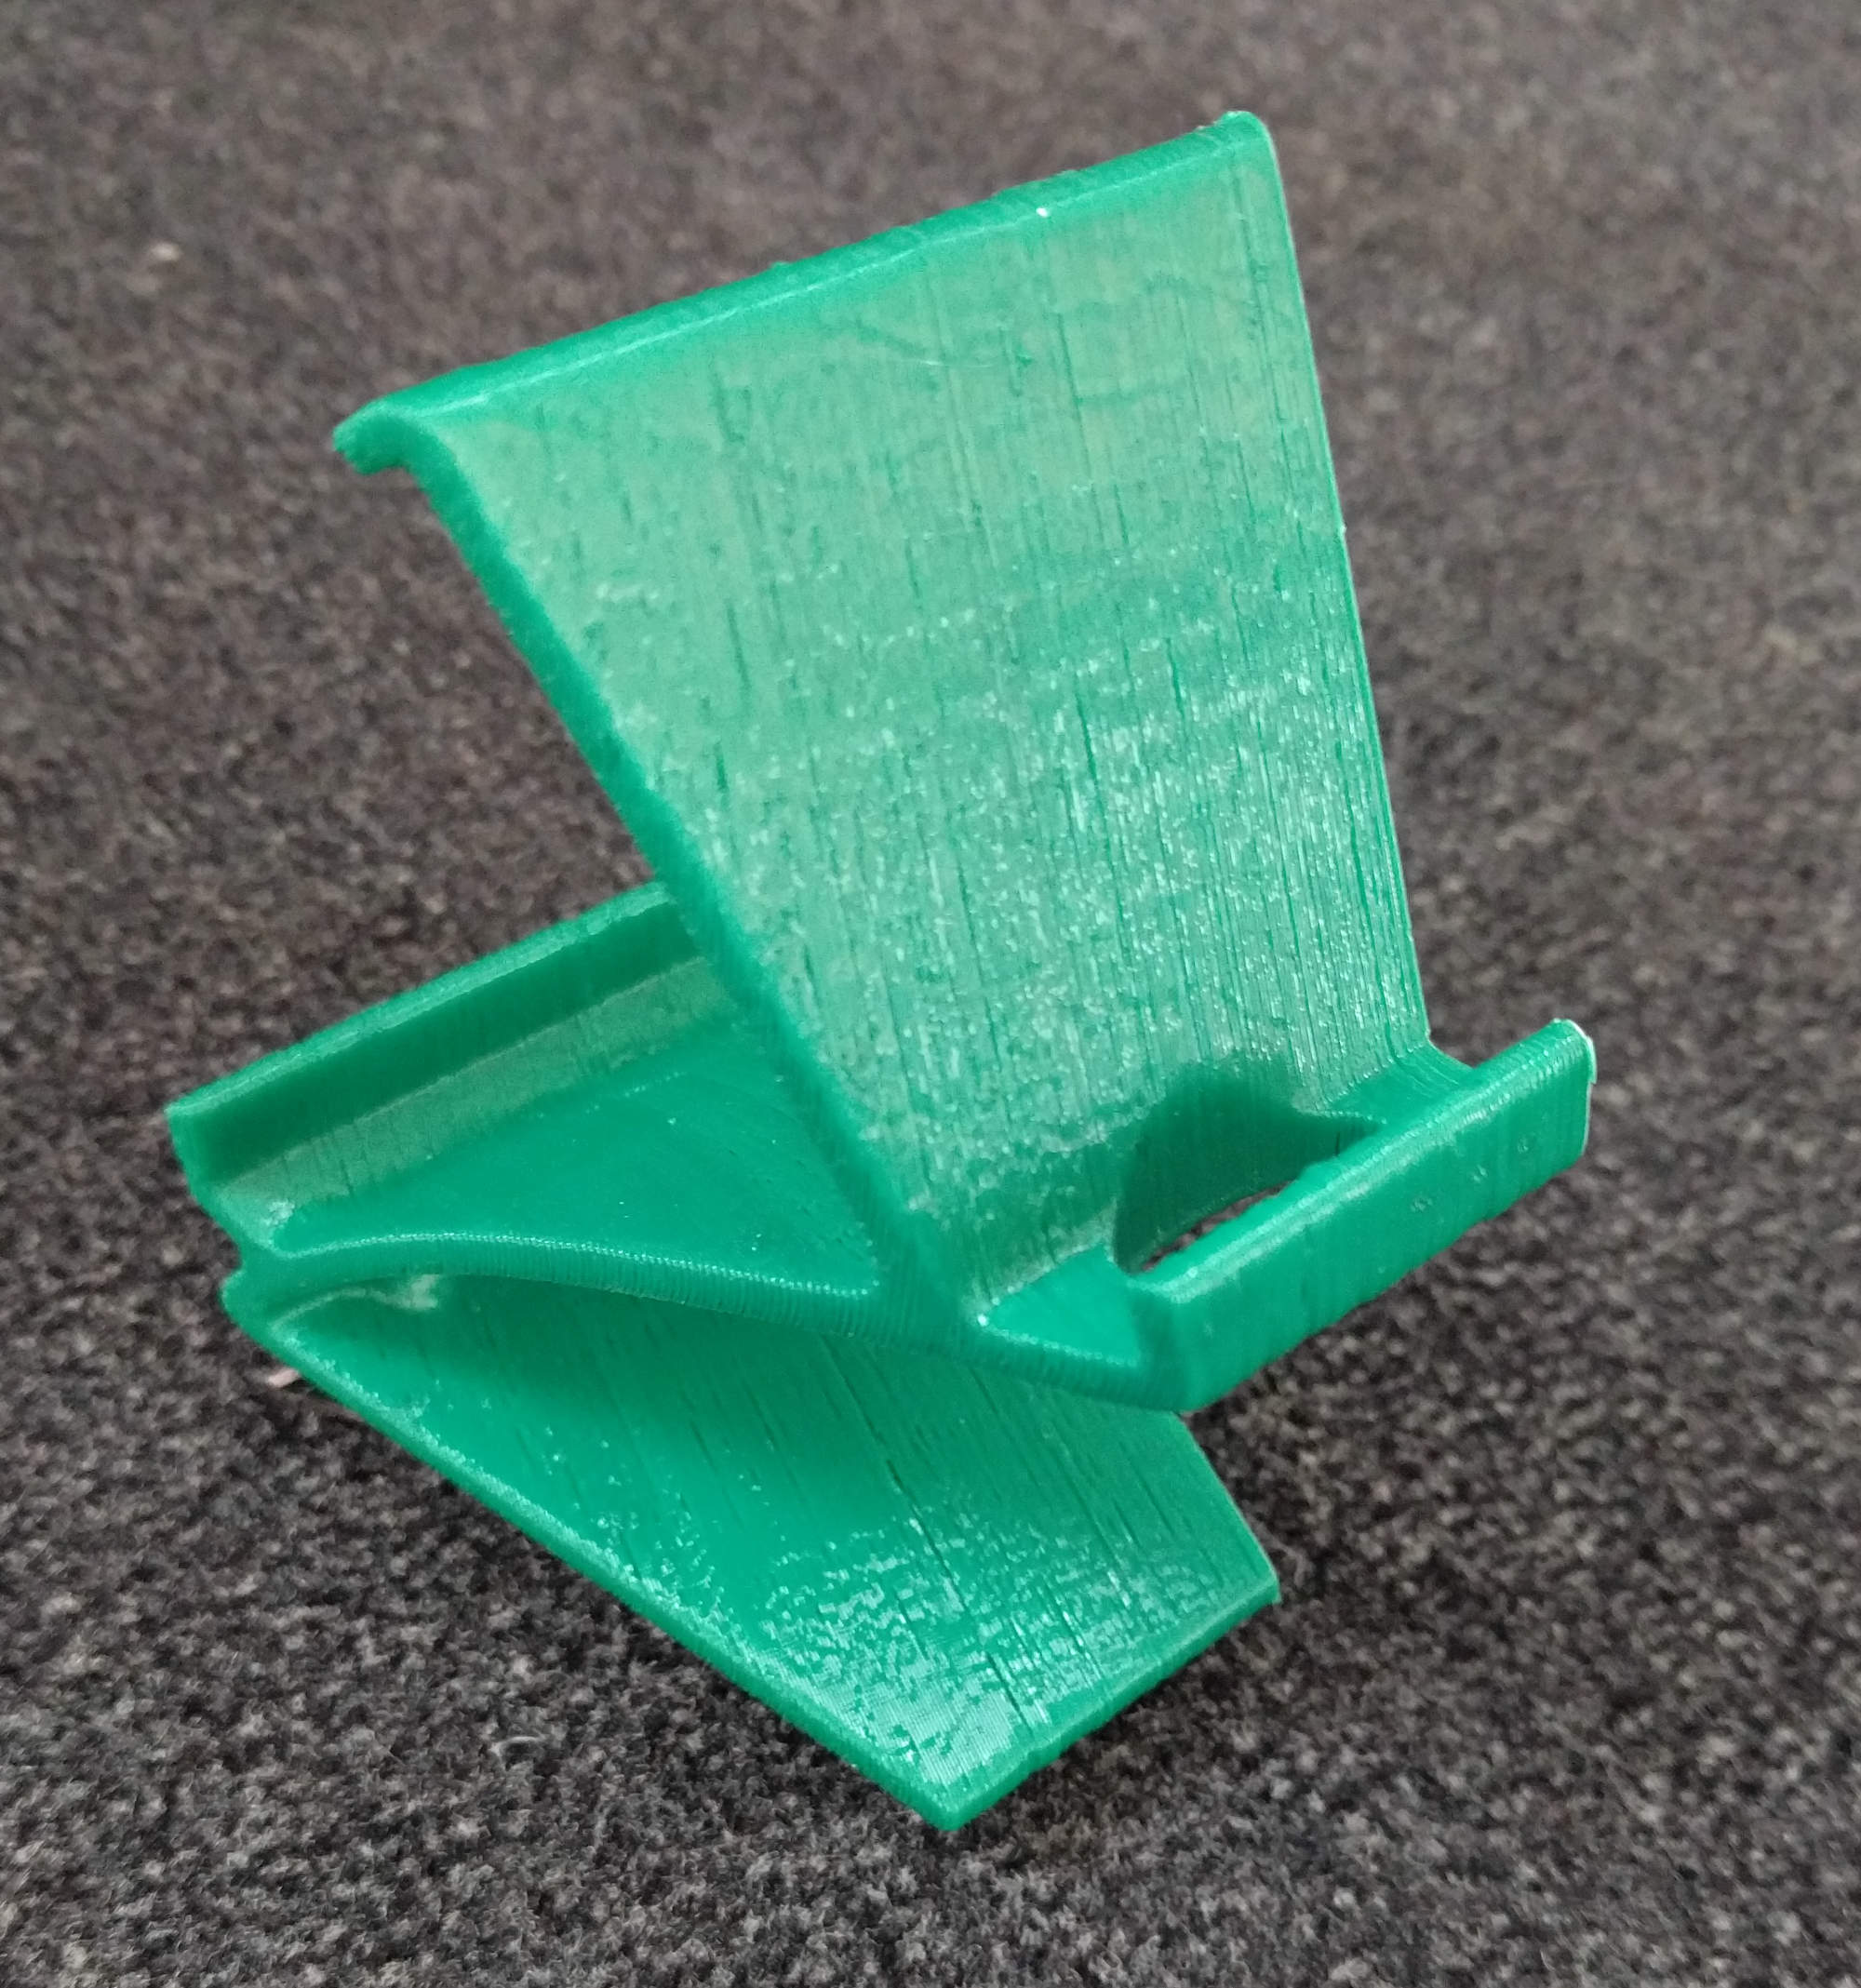
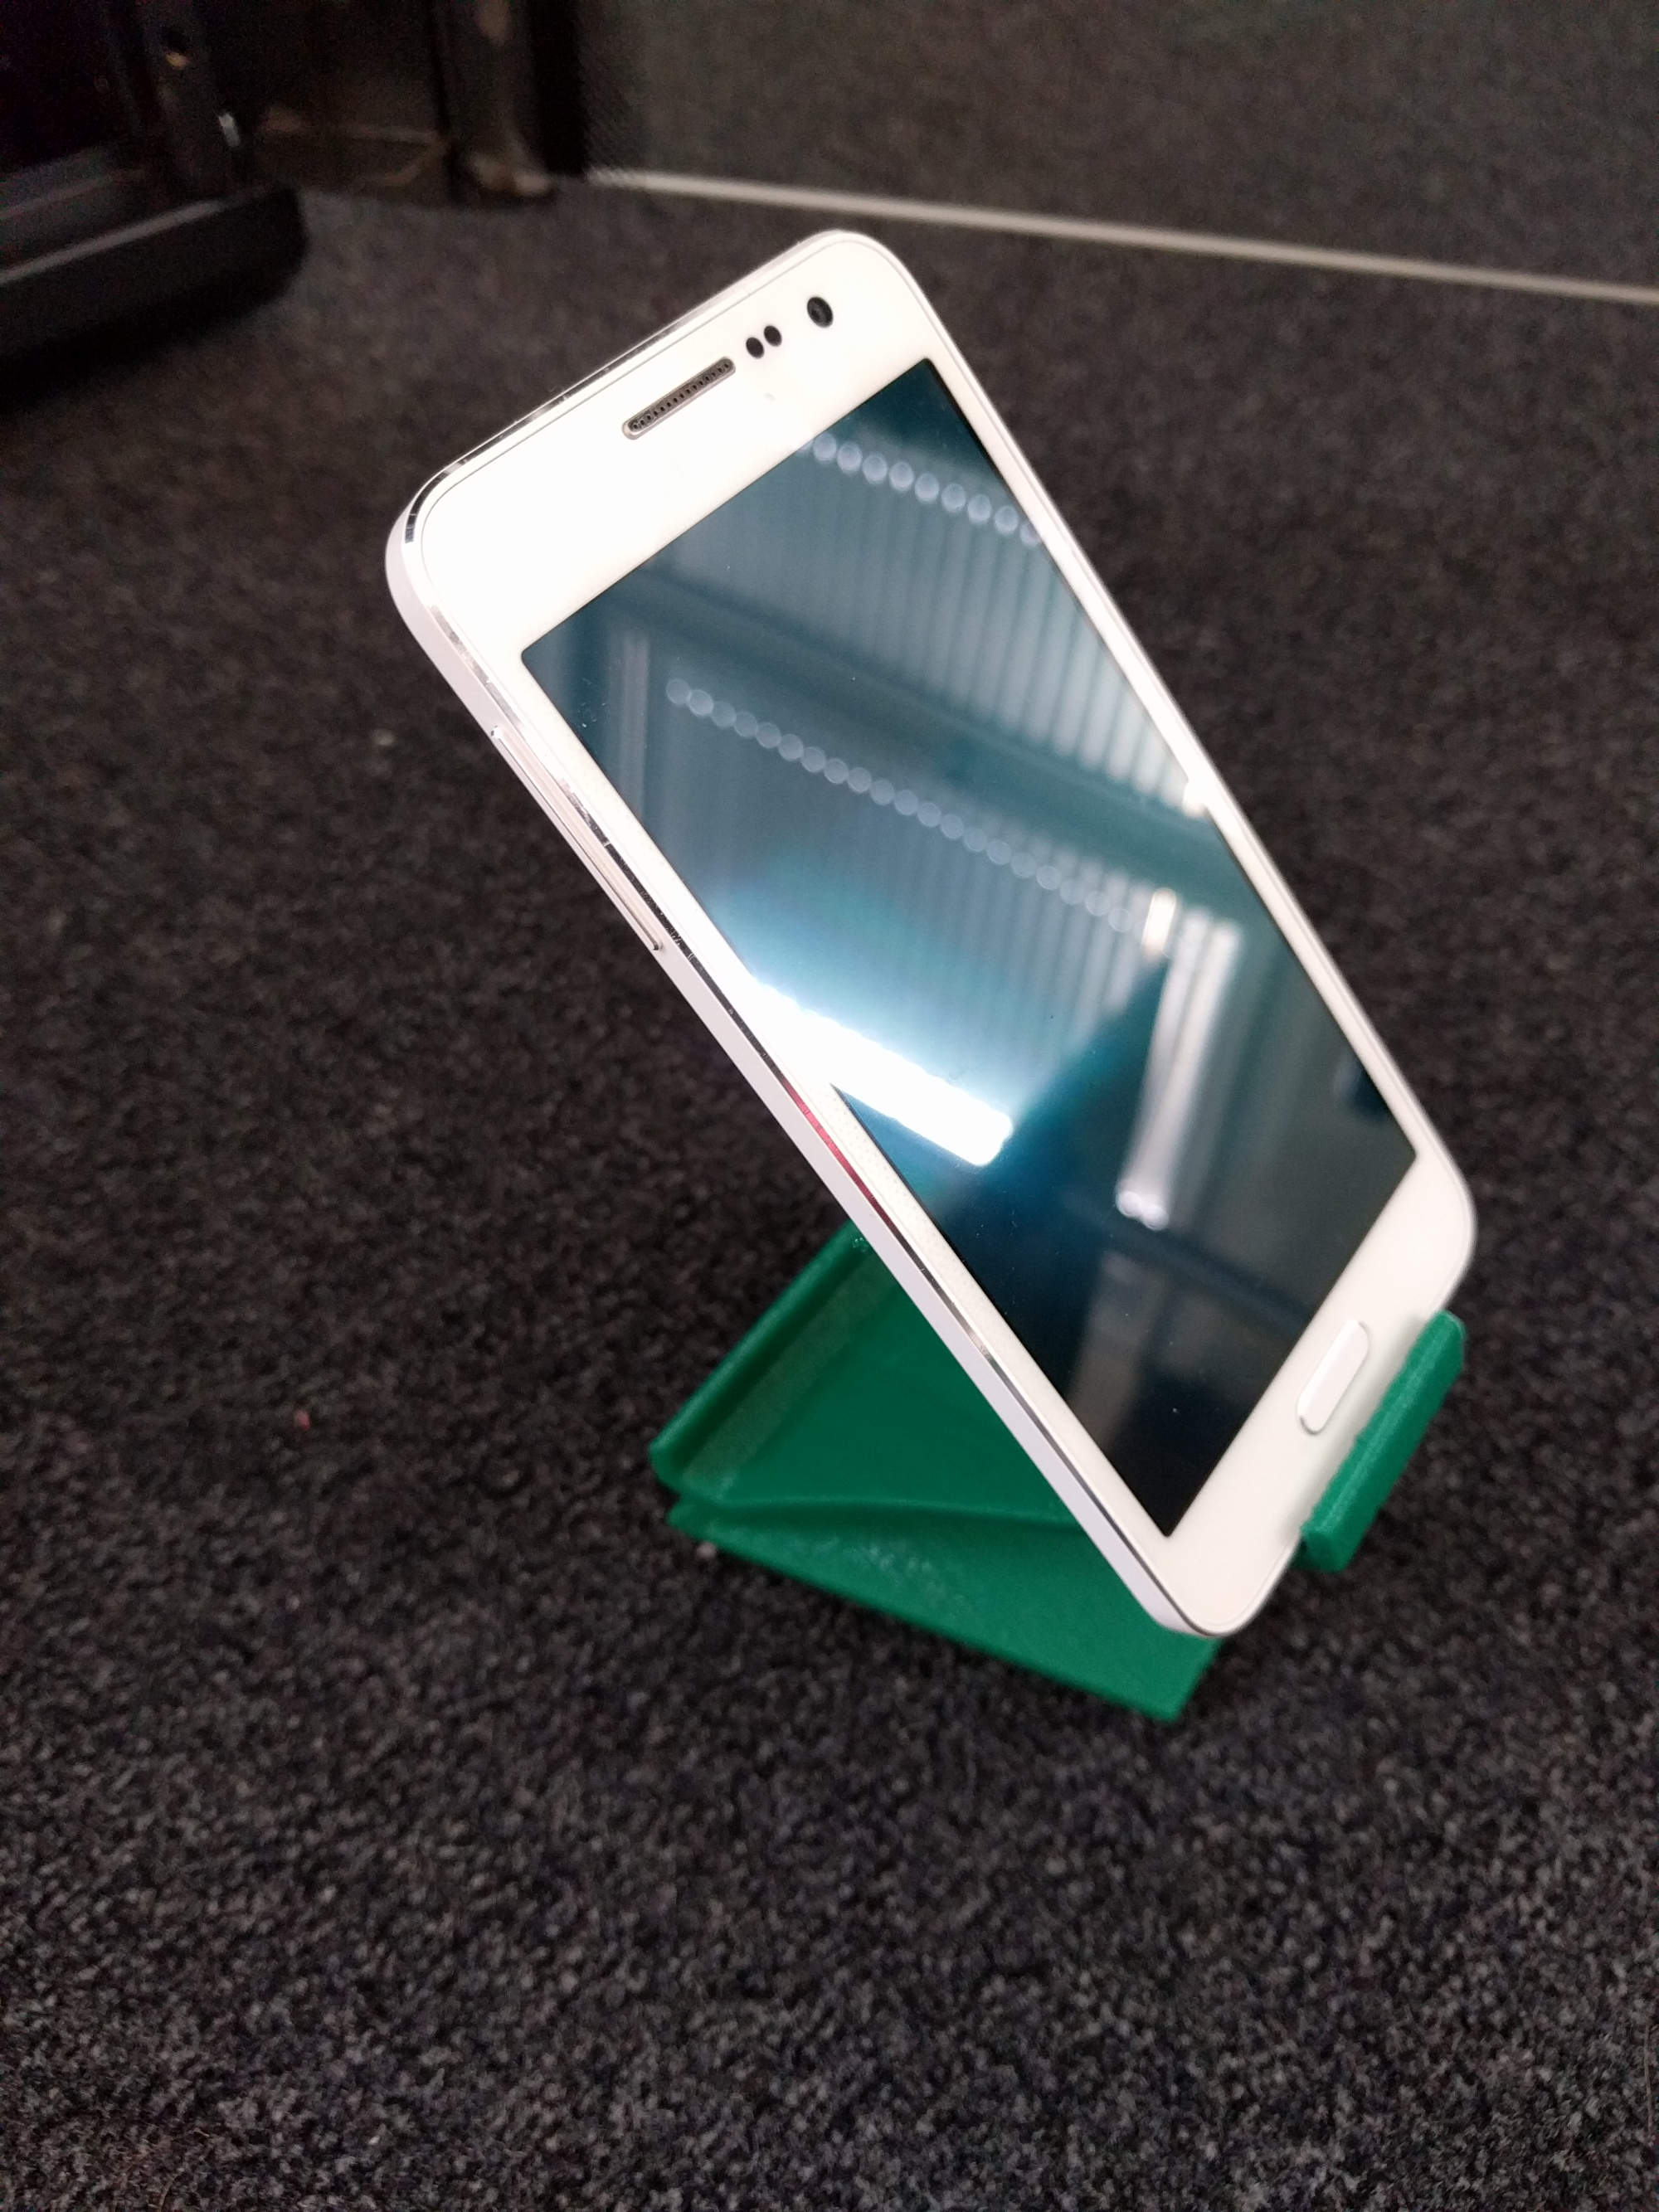
If you have a 3D printer as well, you can find some more models here and here.

How to Build Your Own Android Device Cloud
Now that the hardware is in place you can start with the installation of the required software. First make sure that the mac mini has the latest Java SDK installed. If the SDK is not installed, download it from here and follow the provided instructions. The next piece of software that you need to download and install is Android Studio and the required API levels. Download the latest version of Android Studio from http://developer.android.com/sdk/index.html and follow the installation instructions provided on the Android Studio page. When Android Studio is installed open the SDK Manager to install the required API levels for your app.
When Java and Android Studio are installed, make sure that both are set in the PATH variable of the command line. The following code snippet shows an excerpt of the bash_profile file.
# Android Home

export ANDROID_HOME="/Users/YOUR_USER/Library/Android/sdk"
# Java Home

export JAVA_HOME="/Library/Java/JavaVirtualMachines/jdk1.7.0_79.jdk/Contents/Home"
# User configuration

export PATH="/usr/local/bin:/usr/bin:/bin:/usr/sbin:/sbin"

export PATH="${PATH}:/Users/YOUR_USER/Library/Android/sdk/platform-tools"

export PATH="${PATH}:/Users/YOUR_USER/Library/Android/sdk/tools"
export PATH="${PATH}:$ANDROID_HOME"

export PATH="${PATH}:$JAVA_HOME"
Now you are ready to install openSTF. Find the latest installation instruction for openSTF on the GitHub page of the project. The installation of openSTF is straight forward and very easy to perform. Make sure you have admin rights on the mac mini in order to install required software for openSTF.
Start the Device Farm
After the installation of openSTF you are almost done with the setup phase of the Android device cloud. In order to start openSTF you need to open 2 terminal windows and execute in the first one
rethinkdb
and in the second window execute
stf local
After a couple of seconds the openSTF system is up and running. You can access it via a browser by typing http://localhost:7100.
If you want to make the Android device cloud available to other colleagues start openSTF with the following parameter:
stf local --public-ip <IP_ADDRESS>
Now the system is also available via the given IP address. If you face any kind of problem with the setup of openSTF check the FAQ section.
Add Devices
Until now the openSTF interface shows no devices. The next step is now to add real Android devices to the USB hubs, to make them visible for openSTF and other colleagues. In order to add devices to the system, make sure the developer options and USB debugging are activated on each device. To activate the developer options open settings app -> About the phone and tap 7 times on the build number. Then go back to the settings overview and find the developer options. Open the developer options with a tap and activate USB debugging. Now connect the device to the USB hubs. When device is connected you will see the dialog to grant access to the device via adb. If the access has been granted, openstf will automatically install the STF services on the phone. After a couple of seconds the device will show up in the device list of the test farm and is ready to use.

Connect a Device to Android Studio
Once the devices are added to the device cloud, you can connect them to your IDE e.g. Android Studio. To connect a device, select one from the list in STF. On the dashboard tab there is a section called “Remote debug”. In this section the adb connect command is shown with the ip address and port of the device. Copy the command to your shell and execute it.
Now the device is connected to your computer and can be used within the IDE or via the command line. Execute the command
adb devices
to see if the device is connected and available. Now that the device is connected, you can start a build e.g. in Android Studio and select the real Android device from the device chooser dialog.

Once the build is finished, the apk file will be installed on the Android device in your own device cloud.
Device Farm in Action
To get an idea how openSTF is working, I created the following YouTube video which shows the Android device cloud in action after the initial setup and without the rack :).
That’s it, now you have a running Android device cloud in your office ready to be used for manual testing, automated checking and debugging. If you plan to build the same Android device cloud, I would be more than happy to see some pictures of your solution.
#HappyTesting
Server Rack Image Source: http://ecx.images-amazon.com/images/I/51RhnebQdKL.AC_UL320_SR284,320.jpg